Updated July 16, 2026
Published June 7, 2026, 8 min read
How to Set Up OBS Studio for YouTube & Streaming (2026 Guide)
The free software everyone records and streams with has one flaw: the first launch looks like an airplane cockpit. It is actually four steps. Here they are in plain English, plus the two pieces of gear doing most of the work.

OBS Studio is the free, open source software almost every YouTuber and streamer records with. It is powerful, which is exactly why the first launch overwhelms people. This guide strips it to four steps, plus the simple gear that makes the output actually look and sound professional.
As an Amazon Associate, CheckTheWorth earns from qualifying purchases. Product prices and availability shown on Amazon are accurate as of the time of purchase and are subject to change.
How I picked these. The gear below is picked from specs, price, and buyer reviews rather than my own testing, and chosen to show up cleanly as sources with no fuss. Check the current price and reviews on Amazon before buying.
Step 1: Download and Auto Configure
Grab it free from the official site (obsproject.com), it works on Windows, macOS, and Linux, with no watermark or limits. On first launch, the Auto-Configuration Wizard appears. Choose whether you mainly want to record or stream, and the wizard picks sensible resolution, frame rate, and bitrate settings based on your computer and internet speed. This single step solves most beginner "best settings" questions automatically.
Step 2: Scenes and Sources, the Two Ideas
The whole program is two ideas:
- Scenes are layouts you switch between (e.g. "Just Cam," "Screen + Cam," "Be Right Back").
- Sources are the things inside a scene, your webcam, microphone, screen, images, or text.
Start with one scene and add sources to it. You build everything from these two pieces.
Step 3: Add Your Webcam, Mic, and Screen
In the Sources panel, click the + and add:
- Video Capture Device → your webcam. Resize and position the preview where you want your face to appear.
- Audio Input Capture → your microphone. Record a quick test and set the level so it peaks around -6dB (never into the red).
- Display Capture or Window Capture → your screen, if you film tutorials or gameplay.
That is a complete recording or streaming layout. Everything else is optional polish.
The Gear Doing 90 Percent of the Work
The software costs nothing, so your only spend is the gear feeding it, and two things matter most: a clean webcam and a dedicated microphone. Built in laptop cameras and mics are what make streams look amateur, so this is where to spend.
Logitech C920x Pro HD Webcam
The standard streaming webcam, crisp 1080p, a glass lens, and software control over zoom and focus. Shows up instantly as a Video Capture Device. The safe, proven pick for streamers and YouTubers.
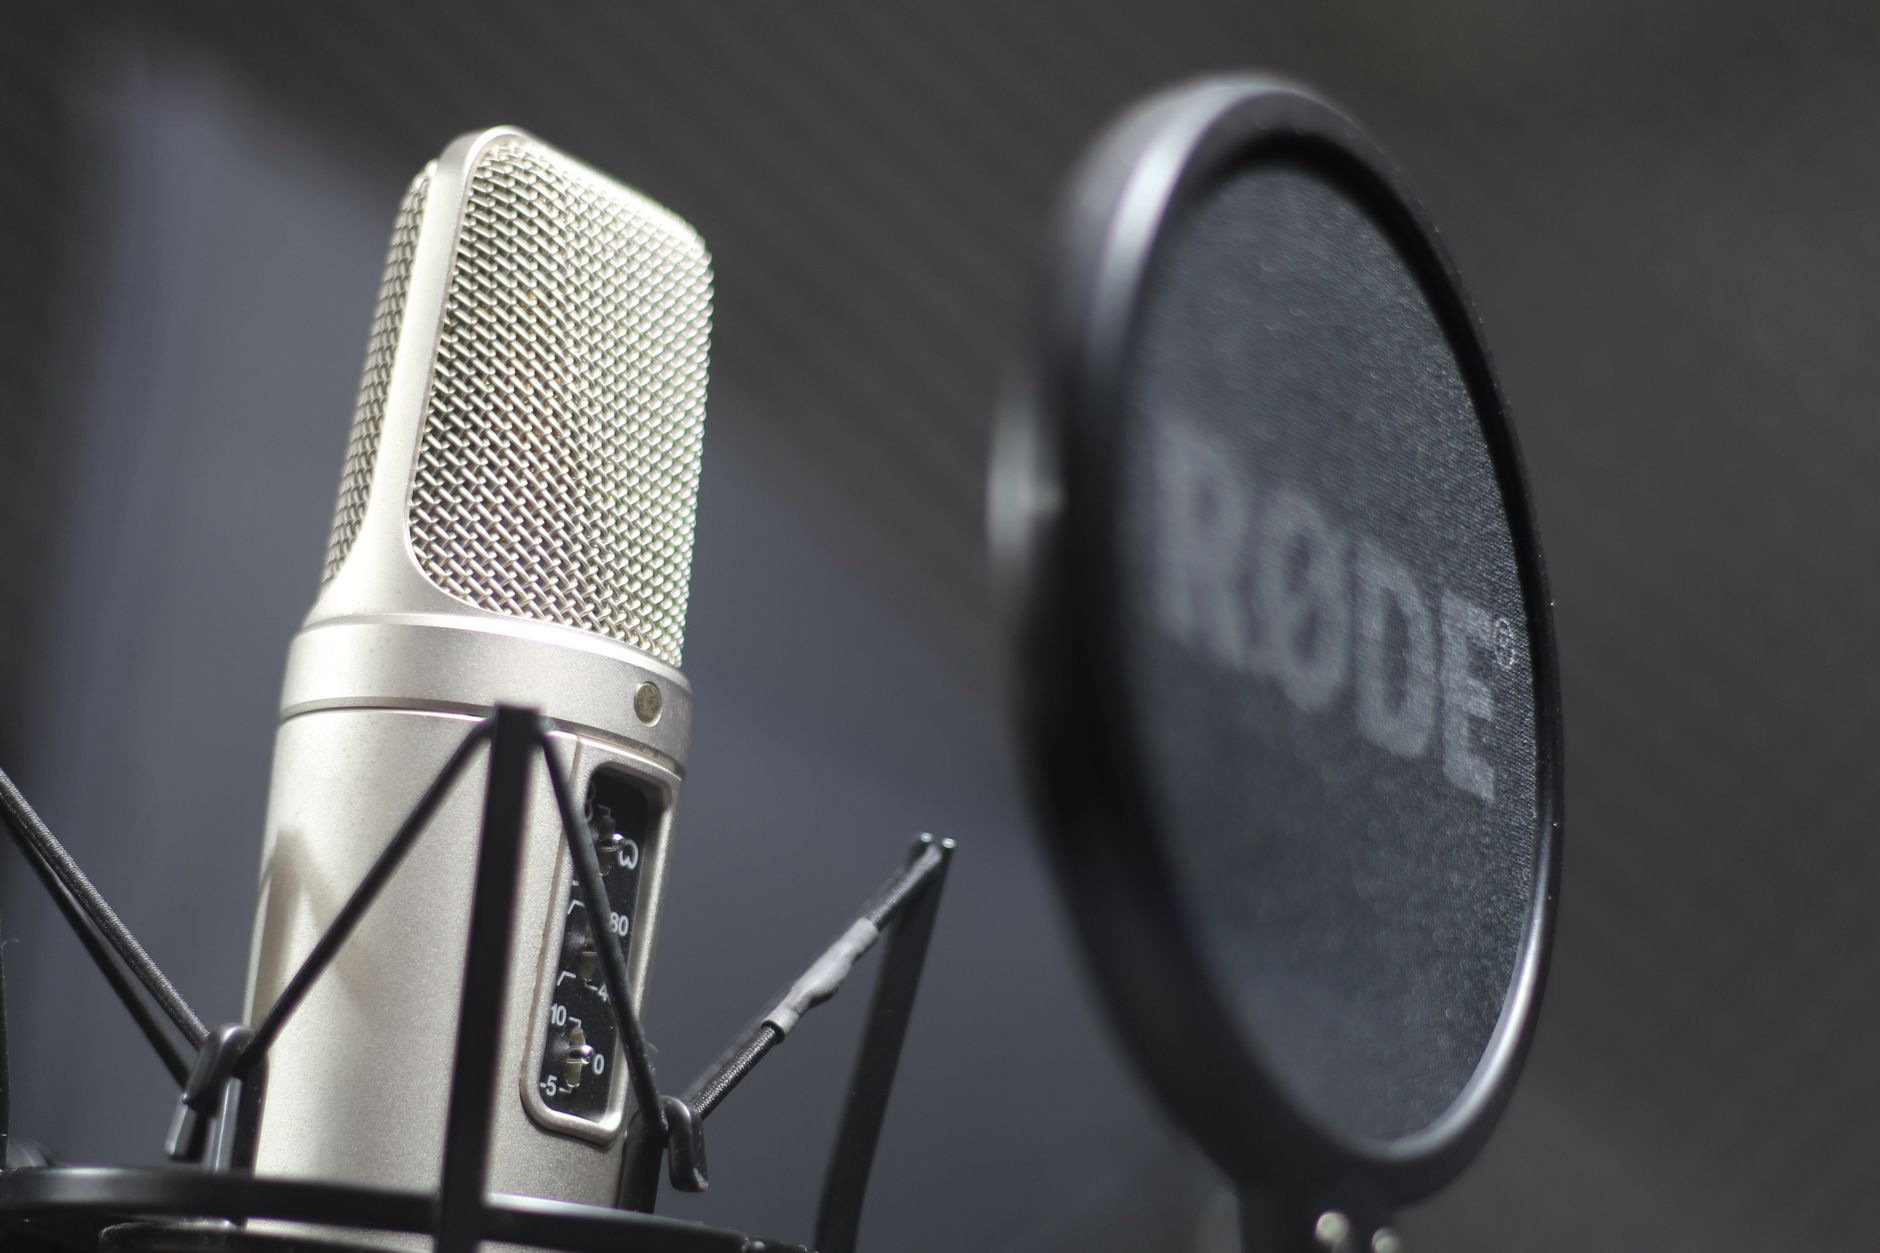
Check price on AmazonZealSound USB Condenser Mic Kit
A plug-and-play USB condenser kit that sounds dramatically cleaner than any laptop or webcam mic. Appears as an Audio Input Capture instantly, and clean audio is what keeps viewers watching.
Check price on AmazonFor the full breakdown of cameras, mics, and lighting by budget, see the Creator Gear Hub, the best webcam for YouTube guide, and the best budget microphone for YouTube guide.
Step 4: Set Your Recording or Streaming Output
Open Settings → Output. For recording, set the format to MP4 and a recording quality of "High." For streaming, paste your stream key from YouTube (YouTube Studio → Create → Go Live) into Settings → Stream. In Settings → Video, confirm 1080p output and 30fps for most channels. If you ran the Auto-Configuration Wizard, most of this is already done.
Step 5: Record or Go Live
Press Start Recording to capture a video, or Start Streaming to go live. Always do a 30-second test first: check that your face is framed, your screen is visible, and, most importantly, your audio is clean on headphones. Then create for real.
The Bottom Line
The whole job is four steps: install and auto configure, add your webcam/mic/screen as sources, set your output, and hit record. The software is free and powerful, so put your money into a decent webcam and microphone, add one light, and your streams and recordings will look far more professional than most.
See every recommended pick by budget on the Creator Gear Hub.
Frequently Asked Questions
How do I get started with OBS Studio?
Download it free from obsproject.com, run the Auto Configuration Wizard and choose recording or streaming, then add your Sources: a Video Capture Device for your webcam, an Audio Input Capture for your microphone, and Display or Window Capture for your screen. Set your level so audio peaks around -6dB, then press Start Recording or Start Streaming. The full walkthrough is in this guide.
Is OBS Studio free?
Yes, completely free and open source, with no watermark, time limits, or paid tiers. It works on Windows, macOS, and Linux, and it is the most widely used software for recording and live streaming to YouTube and Twitch.
What gear do I need with it?
At minimum, just a computer. To look and sound professional you want a webcam (a 1080p model like the Logitech C920x is the standard) and a dedicated microphone (a USB condenser like the ZealSound kit), plus a light facing you. The software is free, so gear is the only cost, and a webcam plus a mic is enough to start.
What are the best settings for YouTube?
For most creators, record or stream at 1080p, 30fps, with a bitrate of 6000 Kbps for 1080p YouTube. Use the wizard to set this automatically based on your computer and internet speed, then fine-tune. Keep audio peaking around -6dB and monitor on headphones so you catch issues live.
Check any YouTube channel's value, free
Live earnings estimates, CPM data, and sponsorship rates. No sign-up needed.

Founder · CheckTheWorth
Fahim built CheckTheWorth himself and runs it on public data and the official YouTube Data API. Every earnings figure here is an estimate, and he says so plainly rather than dressing it up as fact.
Related Articles

By Fahim Mahmood