Updated July 16, 2026
Published June 3, 2026, 9 min read
YouTube Equipment for Beginners: The Best Budget Setup (2026)
You do not need a studio, you need about $150 and a shopping list with the right priorities. Here is the complete starter setup, what each piece costs, and the expensive stuff you should refuse to buy until the channel earns it back.

Start With Less Than You Think
Most people delay starting a YouTube channel because they believe they need a studio full of gear first. They do not. The truth that experienced creators repeat constantly is that your first 10 videos will not be good, and filming them on $2,000 of equipment does not change that. Your skills are the bottleneck, not your camera.
This guide covers the real YouTube equipment for beginners: the cheap, proven gear that makes up a complete YouTube starter kit, what each piece actually does for your videos, and, just as importantly, what to skip until your channel is earning. Everything here is chosen for a beginner YouTube setup, not a professional rig.
The golden rule before you buy anything: audio matters more than video. A viewer will forgive a slightly soft image, but they will close a video with echoey, muffled, or noisy sound within seconds. If your budget only stretches to one upgrade, make it a microphone.
As an Amazon Associate, CheckTheWorth earns from qualifying purchases. Product prices and availability shown on Amazon are accurate as of the time of purchase and are subject to change.
How I picked these. This is a researched starter kit, not a pile of gear I have personally run end to end. Each pick is chosen from specs, price, and how thousands of buyers rate it, so a complete beginner can buy without second-guessing. Prices shift, so check the live Amazon listing before you order.
The Four Things You Actually Need
The equipment needed to start a YouTube channel breaks down into four categories. You need one item from each, and you can start with the cheapest (or free) option in every row.
| Category | What it does | Cheapest option | Beginner upgrade |
|---|---|---|---|
| Camera | Captures your video | Your smartphone (free) | Logitech C920 webcam / used Canon EOS M50 |
| Microphone | Captures clear audio | Phone earbuds mic | Fifine K669B USB mic / Boya BY-M1 lav |
| Lighting | Makes you look sharp | Window daylight (free) | Neewer ring light / softbox kit |
| Editing | Cuts your footage together | CapCut / DaVinci Resolve (free) | Same, both are free forever |
That is the entire list. A complete YouTube starter kit is a camera, a mic, a light, and editing software. Notice that every "cheapest option" costs nothing, you can publish your first video today for $0. The "beginner upgrade" column is what to buy once you have decided you are serious, and it still totals well under $200.
The Starter Kit, Under $200
Here is a realistic, complete youtube equipment for beginners cheap setup. This is the kit I would recommend to anyone starting a talking-head, tutorial, review, or commentary channel in 2026.
| Item | Recommended pick | Approx. price |
|---|---|---|
| Microphone | Fifine K669B USB condenser | $30 |
| Lighting | Neewer 10-inch ring light with stand | $35 |
| Camera | Smartphone you own, or Logitech C920 webcam | $0 to $70 |
| Tripod / mount | Phone tripod with phone clamp | $20 |
| Storage | 64GB SanDisk SD card (if using a camera) | $12 |
| Editing | CapCut or DaVinci Resolve | Free |
| Total | ~$100 to $170 |
Grab the whole Starter Kit in one click
Adds the handpicked starter-kit gear straight to your Amazon cart, review and check out in one place. (Demo: 2 items wired so far; fills in as products are added.)
This youtube starter kit covers everything a beginner needs to produce clean, watchable videos. You will notice there is no $1,500 mirrorless camera here, no boom arm, no acoustic panels. Those are upgrades for later, not part of a beginner youtube setup.
See every pick, by budget
Compare budget, most-popular, and premium options for cameras, microphones, lighting, vlogging cameras, and podcast gear, each with a step-by-step setup guide, at the Creator Gear Hub.
If you want to see what creators with this exact kind of setup actually earn, you can check any YouTube channel's estimated value and income for free, it is a useful reality check on what the gear can lead to once your content works.
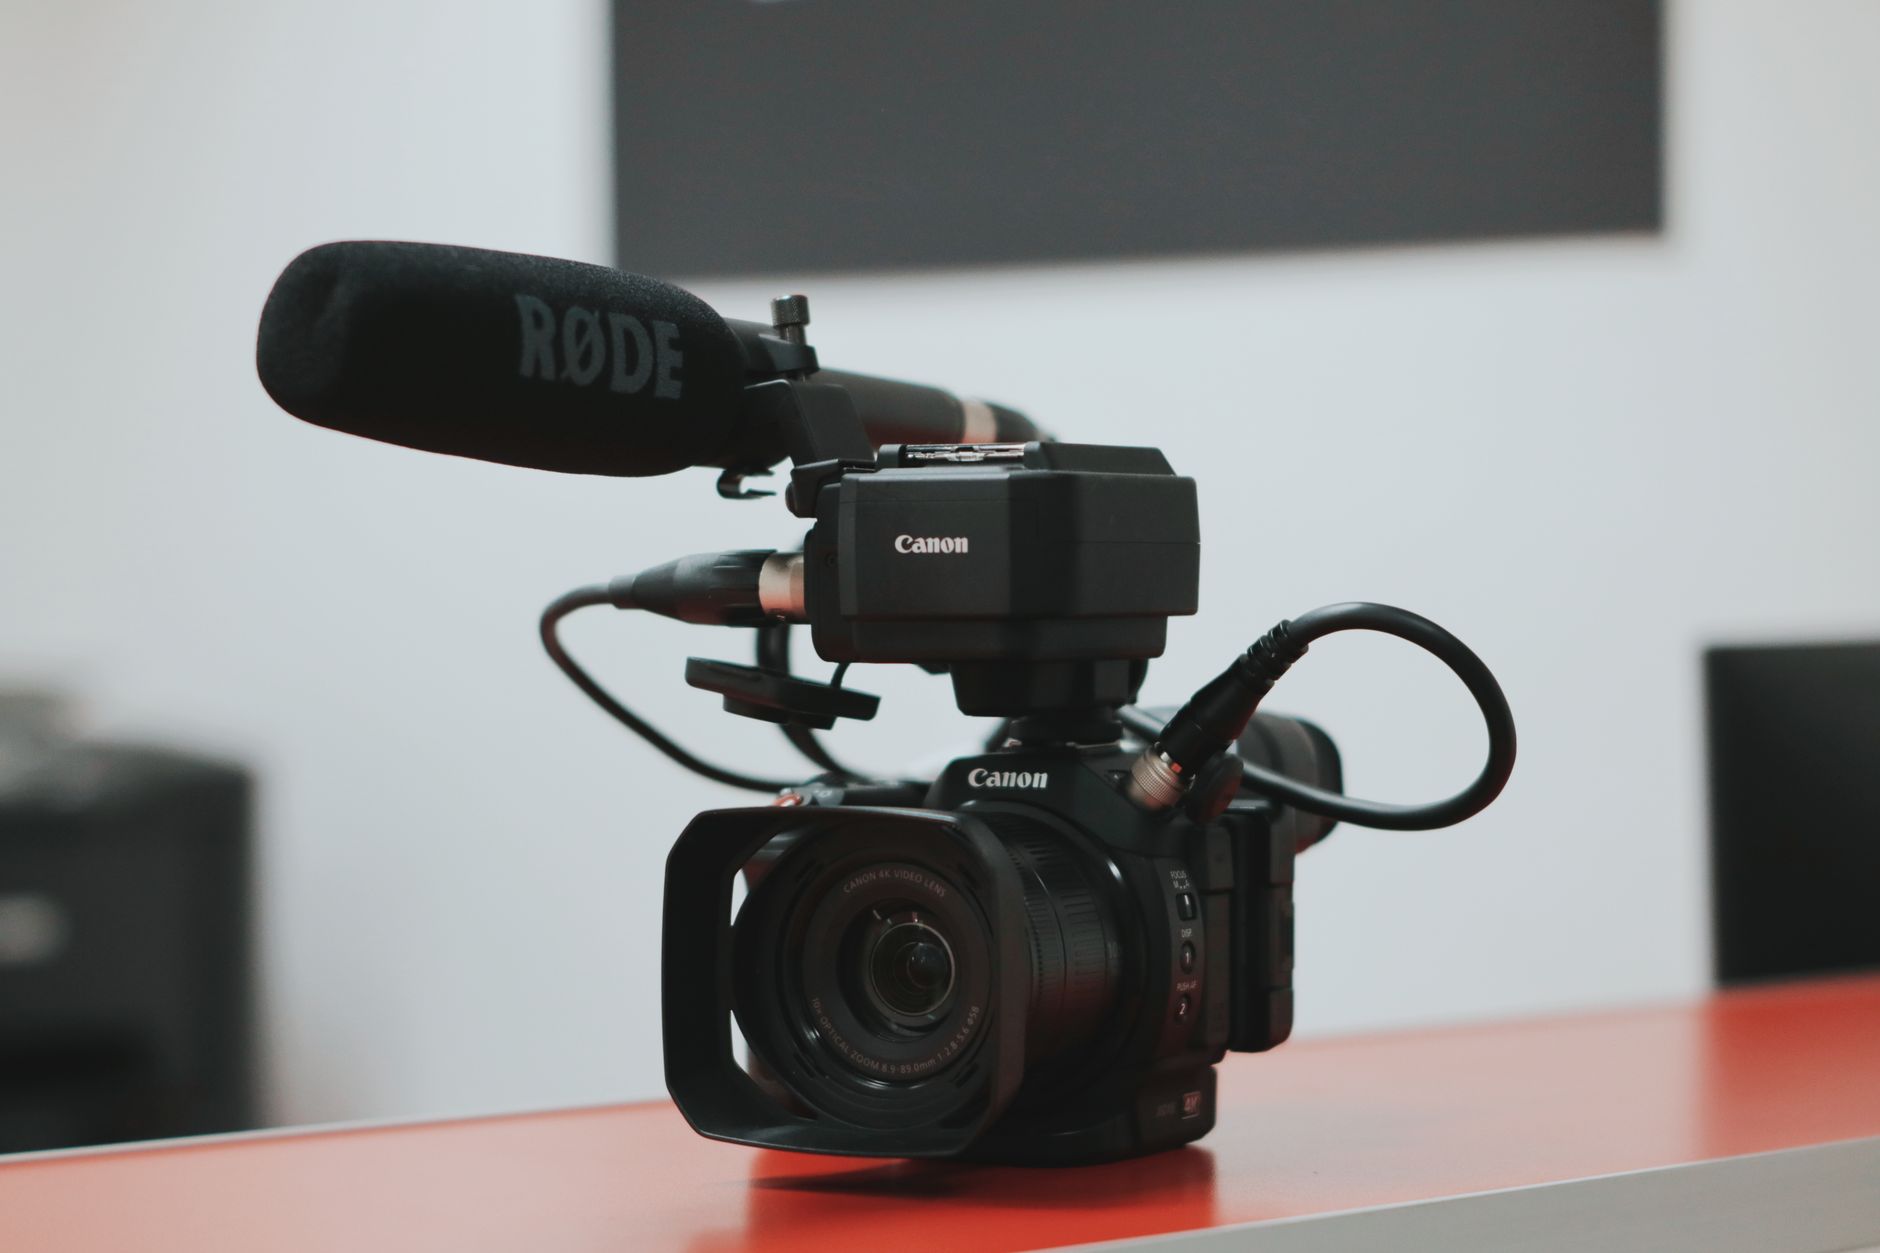
Cameras: Your Phone, Then a Webcam
Here is the most freeing fact for a new creator: the best budget camera for YouTube is almost always the smartphone you already own. Modern phones shoot 4K video with excellent autofocus and stabilisation. Pair your phone with a cheap tripod and a good microphone and you will out-perform someone with an expensive camera and built-in audio.
When you are ready to move beyond a phone, here are the best budget youtube camera options by use case:
For desk and tutorial videos
For talking-head content, screen recordings, and tutorials, a webcam is the simplest path. The Logitech C920 (around $60) and Logitech C922 (around $80) are the long-standing beginner favourites, clean 1080p, plug-and-play, no batteries or memory cards to manage. This is the best webcam for YouTube for most desk-based creators because there is nothing to set up.
EMEET Dual-Camera Webcam
A 1080p dual-camera streaming webcam with auto-framing, handy for talking-head videos plus a top-down second angle for tutorials, with no separate camera setup.
Check price on AmazonFor vlogging and higher production
If you want flip-screen vlogging and a more "professional" look, the Sony ZV-1 (built specifically for creators) or a used Canon EOS M50 are the best budget camera for YouTube picks in the $300 to $500 range. They give you autofocus that tracks your face and a screen you can see while filming yourself. Buying used is the smart move here, last year's creator cameras lose value fast and perform identically.
The mistake to avoid: do not buy a $600 camera before you have published 20 videos. A budget youtube camera plus great audio beats an expensive camera with weak audio every single time.
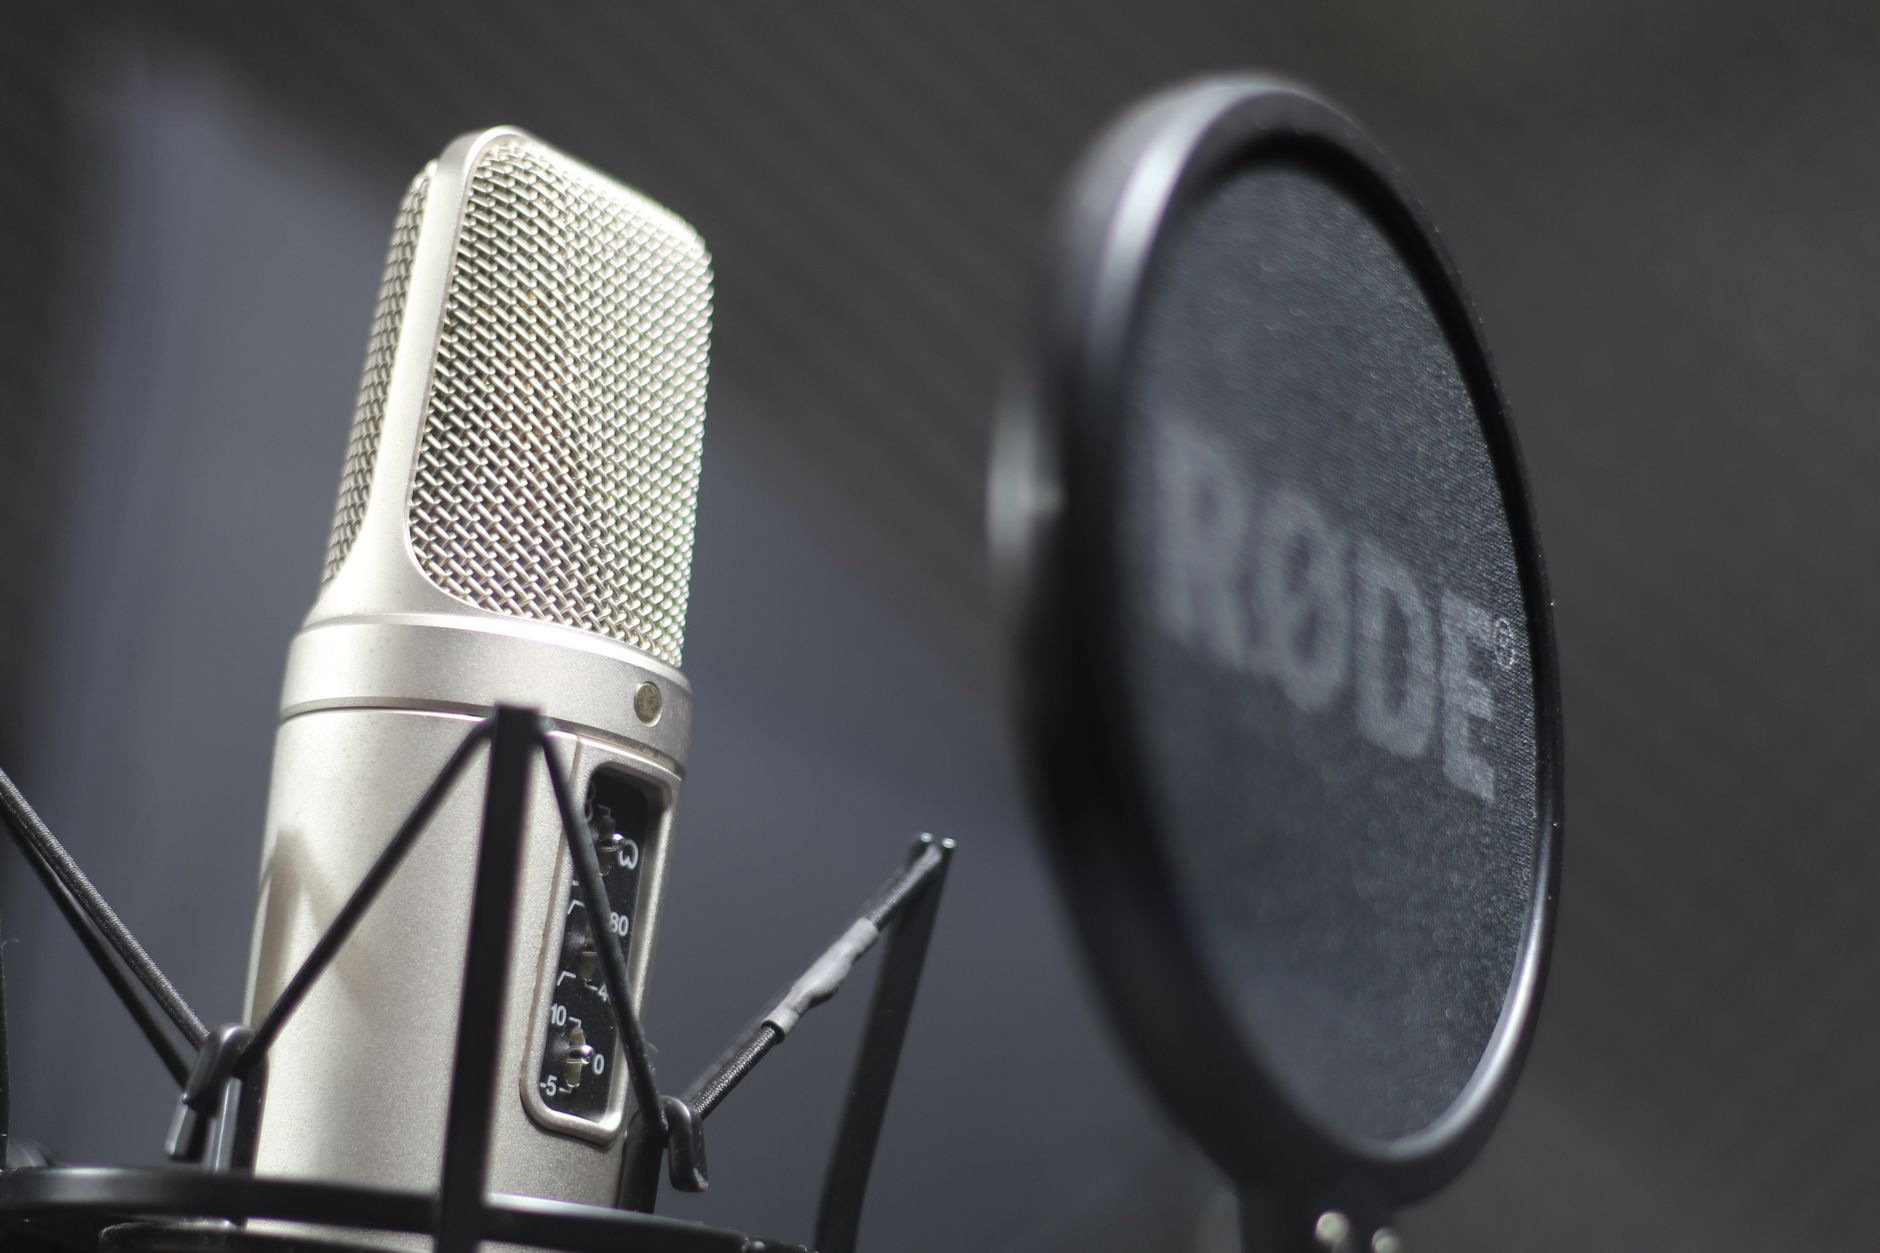
Microphones: Where the Money Goes First
If you only upgrade one piece of YouTube equipment, make it your microphone. The best microphone for YouTube is the one that removes room echo and background noise so your voice sounds close and clear. Here are the best budget options:
The USB workhorses
The Fifine K669B (around $30) is the best cheap microphone for YouTube for desk creators, a USB condenser that plugs straight into your computer and sounds dramatically better than any laptop mic. A small step up, the Samson Q2U (around $60) works over both USB and XLR, so it will still serve you if you later move to an audio interface. Both are among the best budget microphone for YouTube picks because they need no extra equipment.
ZealSound USB Condenser Mic Kit
A plug-and-play USB condenser mic kit with shock mount and pop filter included, clean, close vocal sound straight out of the box, ideal for desk-based talking-head videos.
Check price on AmazonClip on and shotgun options
If you move around or film away from a desk, a clip-on Boya BY-M1 lavalier (around $20) is the best mic for YouTube videos shot on a phone, it clips to your shirt and plugs into your phone or camera. For camera-mounted audio, the Rode VideoMicro shotgun mic sits on top of your camera and captures clean, directional sound that ignores room noise behind it.
Whatever you choose, record a 30-second test and listen on headphones before filming a full video. Clean audio is the fastest, cheapest way to make a beginner YouTube setup sound professional.
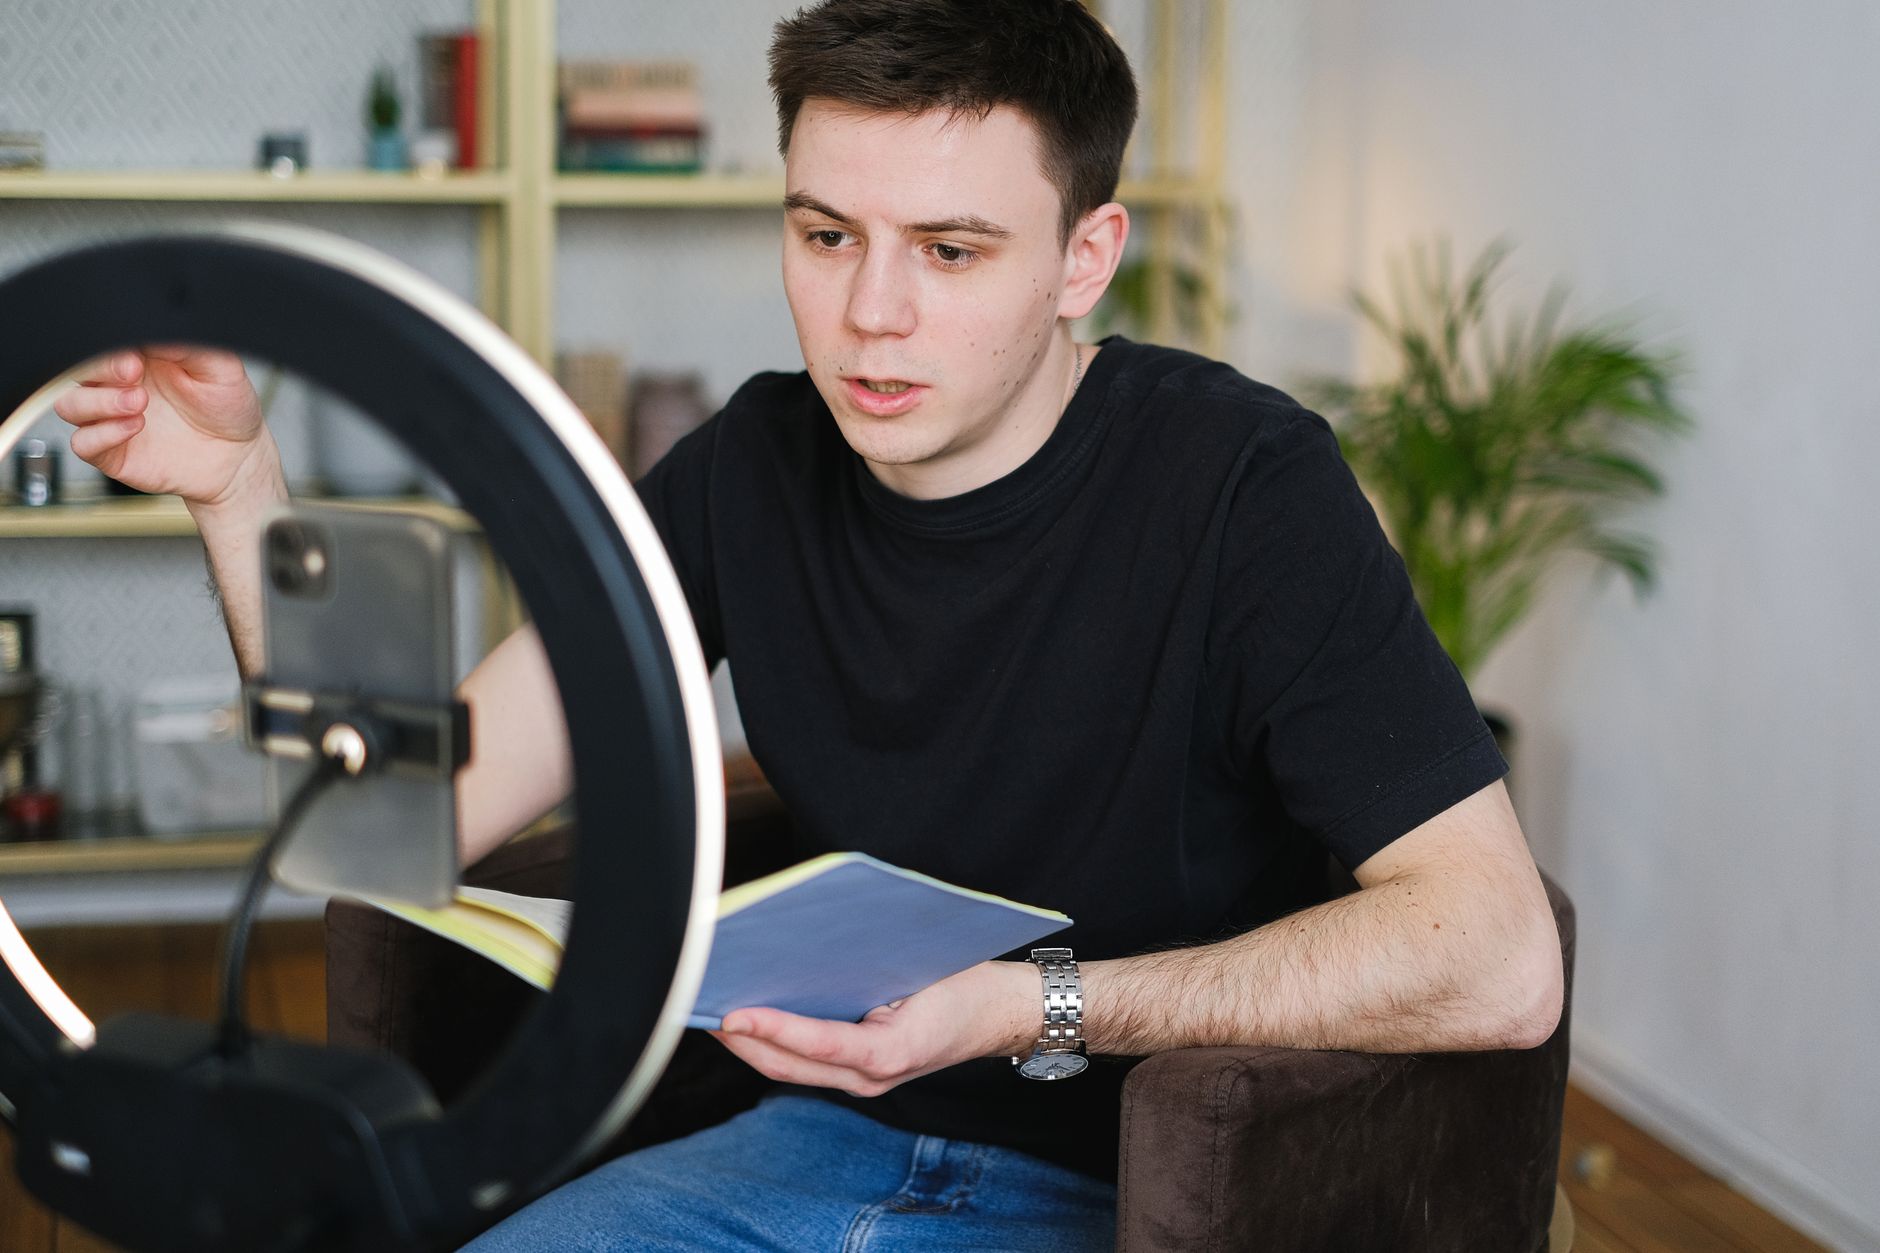
Lighting: One Lamp, Placed Right
Good lighting is the cheapest way to make any camera, even a phone, look more expensive. The best lighting for YouTube for a beginner is, genuinely, free: a window. Sit facing a window during the day and you have soft, flattering, natural light at no cost.
When natural light is not reliable, here are the budget options:
- Ring light, A Neewer 10 to 18 inch ring light (around $35 to $60) is the simplest first light. It sits behind your camera, points at your face, and gives even, shadow-free lighting. Ideal for talking-head, beauty, and tutorial videos.
- Softbox lighting kit, A Neewer softbox lighting kit (around $50 to $80 for two) gives softer, more natural light than a ring light and lets you light a wider scene. This is the better choice for desk setups, product reviews, and any video where you are not staring straight down the lens.
- Free option, One window plus a cheap white poster board as a reflector. Genuinely effective, genuinely $0.
You do not need three-point professional lighting to start. One good light source, or one good window, is enough for a beginner YouTube setup.
Editing Software and Accessories
Editing software is the one place where the free options are also the best options, so there is nothing to spend here.
- CapCut, The fastest free editor for beginners. Auto-captions, trending templates, and no watermark on the desktop version. Best for Shorts and quick edits.
- DaVinci Resolve, A genuinely professional editor that is free forever with no watermark or export limits. A steeper learning curve, but it will never outgrow you.
A few low-cost accessories round out a YouTube starter kit: a phone tripod or small stand so your shots are not handheld, an SD card if you use a camera, and, if you record a lot of voice, a pop filter for a few dollars to soften harsh "p" and "b" sounds. None of these are urgent on day one.
When your channel starts publishing, the next tools you will want are not gear at all, they are titles, thumbnails, and SEO. Our free Title & Thumbnail generator and YouTube SEO tool handle that side once your equipment is sorted.
How Much Should You Spend? Budget vs Upgrade
Here is the honest spending framework for YouTube equipment for beginners:
- 1.Start at $0. Phone camera, window light, free editing software. Publish 10 to 20 videos. This is the most important step and the one most people skip in favour of shopping.
- 2.First upgrade (~$30 to $60): a microphone. Once you are committed, clean audio is the highest-return purchase you can make.
- 3.Second upgrade (~$40 to $80): one light. A ring light or softbox kit so you look consistent regardless of the time of day.
- 4.Third upgrade (~$70 to $500): a camera or webcam. Only when you have proven your content holds an audience and you genuinely need better image quality.
The reason for this order is simple: every successful channel was built on content and consistency, not gear. Expensive equipment does not raise your audience retention, your ideas and your audio do. Buy your beginner YouTube setup in stages, funded by a channel that is already working, and you will never waste money on equipment you did not need.
Once your videos are live and gaining views, check what your channel is worth and what creators in your niche earn, it is the clearest signal of when it is time to reinvest in better YouTube equipment.
*Start with what you have, prioritise audio, add one light, and upgrade your camera last. That is the entire formula for YouTube equipment for beginners, no studio required.*
Frequently Asked Questions
What equipment do I need to start a YouTube channel?
The list is simpler than most beginners think: a camera (your smartphone is fine to start), a microphone for clear audio, one light source, and free editing software. A complete beginner YouTube setup costs $0 if you use a phone and window light, or roughly $150 to $200 if you add a dedicated USB microphone, a budget webcam or used camera, and a ring light. Audio matters more than video quality, viewers will forgive a soft image but leave instantly on bad sound, so the microphone is the single most important purchase on the list.
What is the best budget camera for YouTube?
The best budget camera for YouTube depends on your content. For talking-head and desk videos, a Logitech C920 or C922 webcam (around $60 to $80) delivers clean 1080p with no setup. For vlogging or higher quality, a Sony ZV-1 or a used Canon EOS M50 gives you flip-out screen autofocus and interchangeable looks for $300 to $500. But the best budget option for almost every beginner is the smartphone already in your pocket, modern phone cameras shoot 4K, and pairing one with a $20 tripod and a good microphone beats an expensive camera with bad audio every time.
What is the best cheap microphone for YouTube?
The best cheap microphone for YouTube is a USB condenser mic like the Fifine K669B (around $30) or a clip-on lavalier like the Boya BY-M1 (around $20). For a small step up, the Samson Q2U (around $60) works over both USB and XLR, so it grows with you. If you film on a camera away from a desk, a shotgun mic like the Rode VideoMicro mounts on top and captures clean directional audio. Any of these dedicated microphones is a dramatic upgrade over built-in laptop or camera audio, and clean sound is what keeps viewers watching.
How much does a starter setup cost?
A starter setup costs between $0 and $200 for everything you actually need to start. At $0 you use your smartphone, natural window light, and free editing software. A realistic starter kit at $120 to $200 adds a USB microphone ($30), a budget ring light or softbox ($40 to $60), a phone tripod or stand ($20), and an SD card. You do not need to spend more than this until your channel is earning, most successful YouTubers started on a phone and upgraded only after their content was working.
Do I need expensive gear to start?
No, and buying it first is one of the most common beginner mistakes. Audience retention is driven by your content, your idea, and your audio quality, not by camera resolution. Channels with millions of subscribers regularly publish phone-shot videos. Start with what you have, add a cheap microphone and one light, and reinvest in better gear once your channel proves it can hold an audience. Spend on skills and consistency before gear.
Check any YouTube channel's value, free
Live earnings estimates, CPM data, and sponsorship rates. No sign-up needed.

Founder · CheckTheWorth
Fahim built CheckTheWorth himself and runs it on public data and the official YouTube Data API. Every earnings figure here is an estimate, and he says so plainly rather than dressing it up as fact.
Related Articles

By Fahim Mahmood